
Stop Guessing: Coil Cleaning Frequency for Homeowners & Techs, Measure ΔT

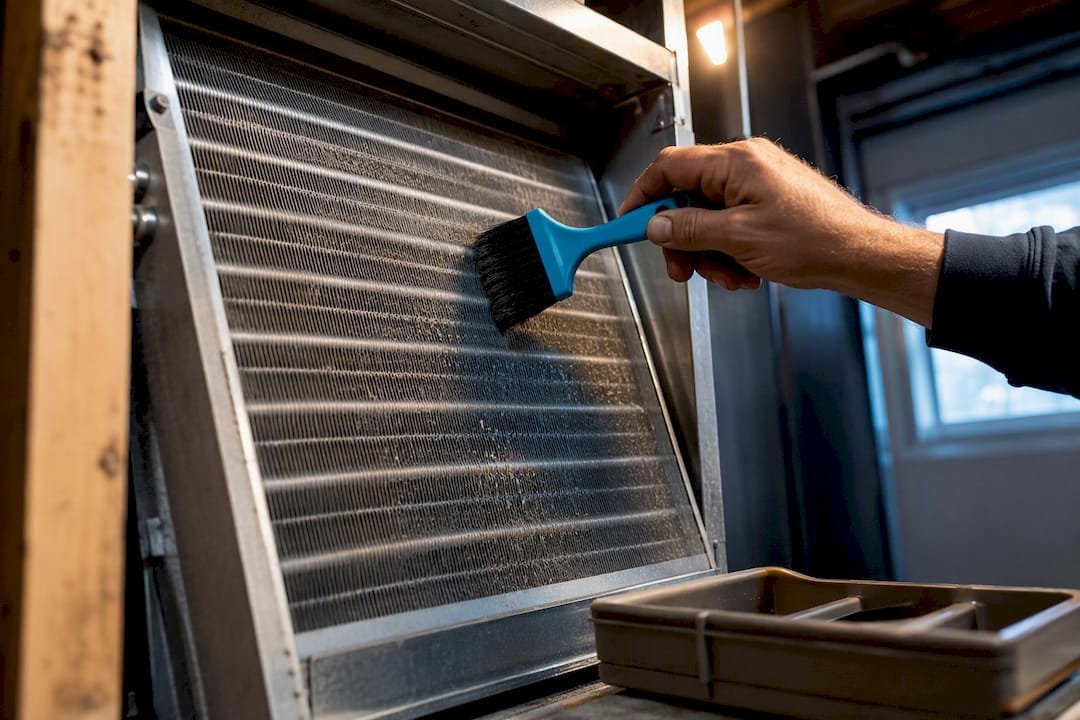
Clean your evaporator and condenser coils at least once a year as a baseline, and bump that to twice a year if you have pets, live near the coast, or run your system hard through a long cooling season. Indoor and outdoor coils foul differently, so they don’t always need the same cadence. Heavy dust, pollen, or grease exposure can push cleaning to a quarterly or condition-based schedule instead of a fixed calendar date.
TL;DR:
- Homes with pets, smokers, or heavy pollen near the system should clean coils more than once a year and perform quarterly visual checks.
- Coastal and salt-exposed properties require more frequent condenser coil cleaning, often quarterly, to prevent corrosion and debris buildup.
- Coil fouling can be detected early through ΔT and static pressure measurements, with significant drops indicating the need for cleaning before performance declines.
- DIY cleaning is limited to rinsing, brush cleaning, and filter replacement, while deep cleaning and refrigerant handling require licensed professionals.
- Professional maintenance should include performance measurements, fin straightening, and leak inspections, especially before the cooling season begins.
Table of Contents
- What Is the Recommended Coil Cleaning Frequency by Situation?
- Why Do Evaporator and Condenser Coils Need Different Care?
- What Situational Factors Push Cleaning Frequency Higher?
- What Are the Warning Signs Coils Need Cleaning Now?
- Should You Clean Coils Yourself or Call a Professional?
- When Should You Book a Coil Cleaning and What Should the Technician Check?
- What Do Practitioners Know About Coil Materials and Condition-Based Maintenance?
- The Real Lesson Behind Coil Cleaning Schedules
- How HVAC Prime Supports Your Coil Maintenance Routine
- Sources
What Is the Recommended Coil Cleaning Frequency by Situation?
A standard residential system in a moderate climate does fine with one full cleaning a year, timed to hit before the cooling season starts. Add pets, smokers, or a heavy pollen season to the mix, and that baseline stretches thin fast. Most homes need at least one coil cleaning annually, with dusty, coastal, or pet-heavy households often needing two, a pattern that holds up across most homeowner maintenance guides.
Here’s how that breaks down by situation:
| Situation | Recommended cleaning frequency | Inspection cadence |
|---|---|---|
| Standard residential system | Once a year (spring) | Visual check each fall |
| Homes with pets, smokers, or heavy indoor cooking | Cleaning more frequently than once a year | Quarterly visual check |
| High-pollen or dusty neighborhoods | Cleaning more frequently than once a year | Quarterly visual check |
| Coastal or salt-exposed properties | More frequent cleaning focused on the condenser coil | Quarterly, condenser only |
| Light commercial or rooftop units | 2 to 4 times a year | Monthly to quarterly |
| Industrial or high-particulate sites | Condition-based cleaning, often with monthly inspections | Monthly |
| Cooling towers | Frequent condition-based maintenance | Weekly to monthly |
Commercial and high-dust environments commonly land in the 2 to 4 cleanings per year range, or shift to a condition-based schedule entirely once particulate load gets unpredictable. A quick note on terms: an inspection is a five-minute look through the access panel or fin face; a full clean involves foam, rinse, or brush work on the coil surface itself. Not every quarterly check needs to end in a full clean, but skipping the check means you find out about buildup the hard way, usually as a warm house in July.
Why Do Evaporator and Condenser Coils Need Different Care?
Your evaporator coil lives inside the air handler, staying cold and wet whenever the system runs. That moisture means it collects dust more slowly than an outdoor coil, but it also creates real potential for mold and biofilm if it’s never cleaned. Your condenser coil sits outside, fully exposed to whatever the yard throws at it.
- Evaporator coils foul from dust binding to condensation, which restricts airflow and can encourage mold growth in the drain pan and coil fins.
- Condenser coils collect grass clippings, cottonwood fluff, leaves, pollen, and, near the coast, corrosive salt film.
- Fouling on either coil reduces heat transfer, forcing the compressor to work harder to hit the same temperature drop.
- The failure modes diverge: a dirty evaporator often causes coil icing, while a dirty condenser drives up head pressure and stresses the compressor.
Indoor evaporator coils typically run on an annual schedule, while exposed or coastal condenser coils often need more frequent attention. Treating both coils as one unit with one cleaning date is the most common mistake homeowners make.
What Situational Factors Push Cleaning Frequency Higher?
Calendar-based maintenance is a starting point, not a rule. Certain conditions accelerate fouling enough that waiting for your annual appointment costs you real efficiency. Run through this list and count how many apply to your home or building:
- Pets that shed add hair and dander that clog evaporator coils and filters faster than a pet-free household.
- Smokers indoors deposit a sticky residue on evaporator fins that plain dust doesn’t produce.
- Trees or heavy pollen nearby load the condenser with debris every time the wind picks up.
- Coastal salt exposure corrodes aluminum fins and accelerates the need for rinsing.
- Nearby construction throws fine particulate into the outdoor coil for weeks at a time.
- Commercial kitchens or grease-heavy environments coat coils in a film that ordinary dust doesn’t create.
Technicians rely on two measurements to catch fouling before it becomes a comfort complaint: temperature differential (ΔT) across the evaporator coil, and static pressure in the duct system. A properly running residential system typically shows a ΔT between 16 and 22 degrees Fahrenheit; a drift outside that range, paired with rising static pressure, is a solid signal that coils need attention now rather than at the next scheduled visit. For inspection intervals, quarterly visual checks work for medium-risk homes, monthly for coastal or industrial sites, and semiannual for everyone else.
What Are the Warning Signs Coils Need Cleaning Now?
Some signs are obvious the moment you notice them. Others show up gradually enough that homeowners chalk them up to “the AC just isn’t what it used to be,” when the real problem is sitting behind an access panel.
Watch for these:
- Longer run times to hit the same thermostat setting
- A noticeably higher electric bill with no change in usage
- Weak or noisy airflow at the registers
- Visible ice forming on the indoor coil
- A musty or moldy smell when the system kicks on
- Visible dirt or dust buildup when you look through the access panel
A quick visual check takes two minutes: pull the panel, shine a flashlight on the coil face, and look for a gray or brown film. If you can see buildup with the naked eye, or if there’s any ice at all, that’s not a “schedule it for next month” situation.
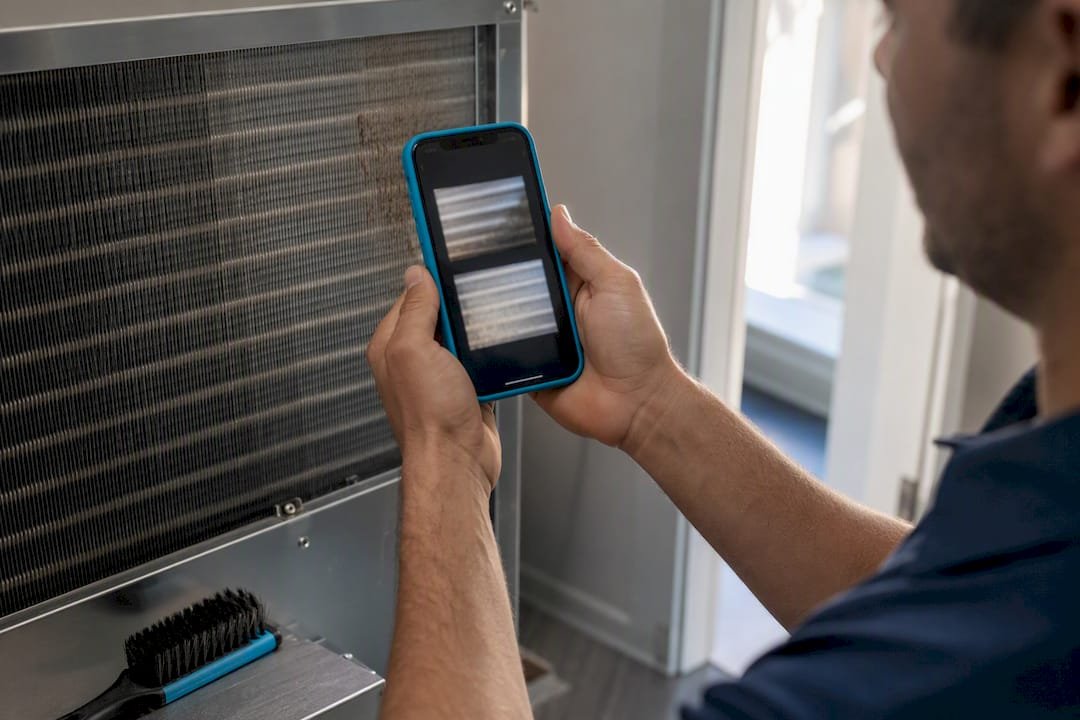
Pro Tip: Keep a phone photo of your coil from each cleaning. Comparing photos side by side shows you fouling trends faster than memory ever will, and it gives a technician a head start on diagnosing whether your cleaning interval needs to shorten.
Should You Clean Coils Yourself or Call a Professional?
Some coil maintenance is squarely a homeowner task. Other parts require tools, chemicals, and refrigerant handling that belong with a licensed technician. Knowing where that line sits saves you money on the easy stuff and protects your system on the hard stuff.
Safe DIY tasks:
- Replace filters every one to three months, more often with pets.
- Clear grass, leaves, and vegetation from around the outdoor condenser.
- Vacuum the condenser grill and fins gently with a soft brush attachment.
- Rinse the condenser coil with a garden hose at low pressure, working top to bottom.
- Apply a no-rinse foaming coil cleaner labeled safe for your fin material, following the label exactly.
Professional-only tasks:
- Accessing and deep-cleaning the evaporator coil, which usually means partially disassembling the air handler
- Fin straightening with a proper comb tool to restore airflow without tearing thin aluminum
- Refrigerant charge checks and leak detection, which legally require certified handling
- Chemical cleaning that needs controlled rinse and neutralization steps
Pro Tip: Never use a pressure washer on a condenser coil. The force bends fins flat, which cuts airflow permanently and can undo more cooling capacity than the dirt ever did. Stick to garden-hose pressure, use cleaners matched to your fin material (copper and aluminum react differently to acidic formulas), and always kill power to the unit before doing hands-on work near the coil or fan.
When Should You Book a Coil Cleaning and What Should the Technician Check?
Spring, before the first real heat wave, is the best window for a cooling-season cleaning. Fall works for systems that also handle heating, especially heat pumps that run coils year-round. Booking outside peak season also means shorter wait times and technicians who aren’t rushing between emergency calls.
A thorough service visit should include:
- Visual inspection of both evaporator and condenser coil surfaces
- ΔT and static pressure readings, taken before and after cleaning
- Condensate drain line cleaning to prevent overflow and water damage
- Fin straightening where fins have been bent or crushed
- A refrigerant charge check and visual leak inspection
Ask for the before-and-after ΔT numbers on your invoice. If a technician can’t produce them, they likely aren’t measuring performance at all, just wiping down a coil and calling it done. For most homes, a follow-up inspection at the six-month mark keeps you ahead of any fast-developing buildup.
What Do Practitioners Know About Coil Materials and Condition-Based Maintenance?
Material compatibility matters more than most cleaning guides admit. Uncoated aluminum fins react badly to acidic cleaners, while copper tubing tolerates a wider range of formulas. Technicians increasingly track ΔT and static pressure logs instead of cleaning strictly by the calendar, which catches fouling before it costs real efficiency.
- Match cleaner chemistry to fin material; check the label against copper, aluminum, or coated fin coatings before applying anything.
- Use a fin comb to restore bent fins rather than forcing airflow through crushed geometry.
- Foam cleaners with a controlled dwell time outperform aerosol sprays on heavily soiled coils.
- Log ΔT and static pressure at each visit to catch drift before a comfort complaint comes in.
Hvac-prime stocks the professional HVAC tools technicians use to make that shift from calendar-based to condition-based service work.
The Real Lesson Behind Coil Cleaning Schedules
Most maintenance advice treats coil cleaning like an oil change: a fixed interval you set once and forget. That’s a reasonable default for a standard residential system, but it quietly fails everyone outside that narrow case. A rooftop unit in a dusty industrial park and a quiet suburban split system have nothing in common environmentally, yet both often get the same generic “once a year” advice.
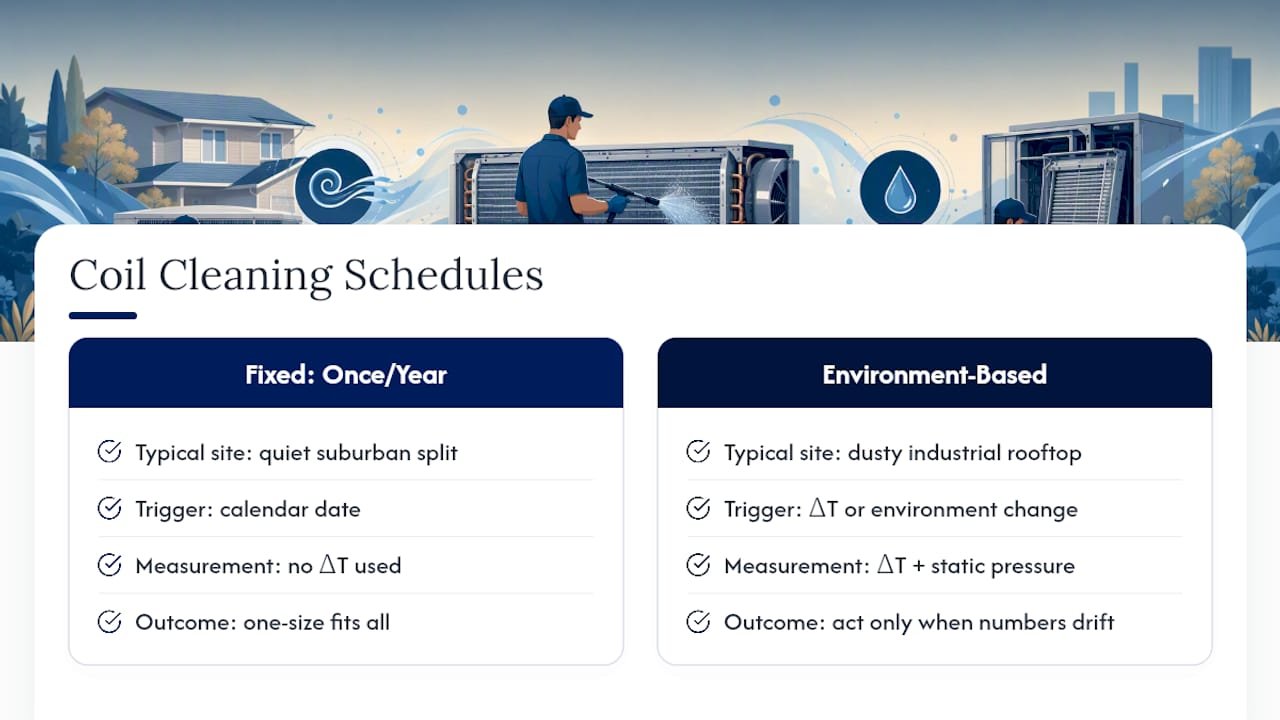
The bigger miss is that most homeowners never see a ΔT number in their life, and most technicians who do measure it don’t explain what it means. That’s backwards. A ΔT reading before and after a cleaning tells you, in one number, whether the service actually did anything. Static pressure tells you whether your ductwork is fighting the system on top of dirty coils.
If you take one thing from this guide, take this: stop thinking about coil cleaning as a date on the calendar and start thinking about it as a response to measurable drift. The calendar gets you in the ballpark. The numbers tell you when you actually need to act.
— Planet
How HVAC Prime Supports Your Coil Maintenance Routine
Hvac-prime is built for exactly the maintenance work this guide covers, whether you’re a homeowner tackling the DIY steps or a technician running a full service route. We stock refrigerants for the charge checks that follow a proper coil cleaning, plus HVAC tools like fin combs and gauges for the jobs that go beyond a garden hose and foam cleaner.

If your coils are overdue and you’re not sure whether it’s a filter swap or a full service call, start with the basics: check your filter, inspect the condenser fins for buildup, and if the ΔT feels off or the airflow is weak, it’s time to book service or stock up on the right tools before the next heat wave hits. Browse our refrigerant selection to keep your next charge check ready to go.
Sources
- How Often To Clean HVAC Coils: Yearly, Seasonal, Or More? – Eco Safeway
- How Often to Clean AC Coils: Homeowner Maintenance Guide
- How to Clean AC Coils Properly | Boost AC Performance




 HVAC
HVAC Automotive
 Refrigerant Diagnostics Kit
 Water Heaters